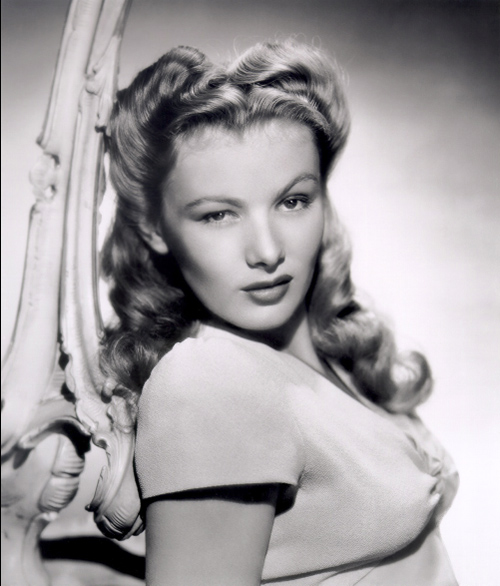
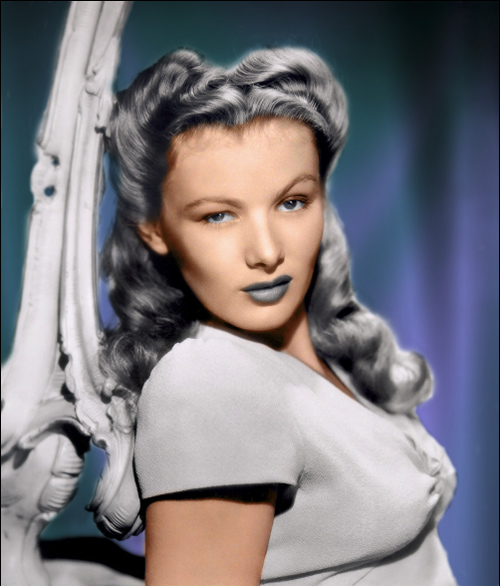
Open up your black & white image in Photoshop. I'm using this publicity shot of 1940s film icon Veronica Lake:
This tutorial describes a process for hand-colouring black & white images that includes a neat technique for accurately rendering difficult areas like skin and hair. I must stress from the outset that I did not invent this technique: the original idea came from BioRUST member Supertackyman. I have just modified and refined it a little, with his permission.
Step 1:
Open up your black & white image in Photoshop. I'm using this publicity shot of 1940s film icon Veronica Lake:
Step 2:
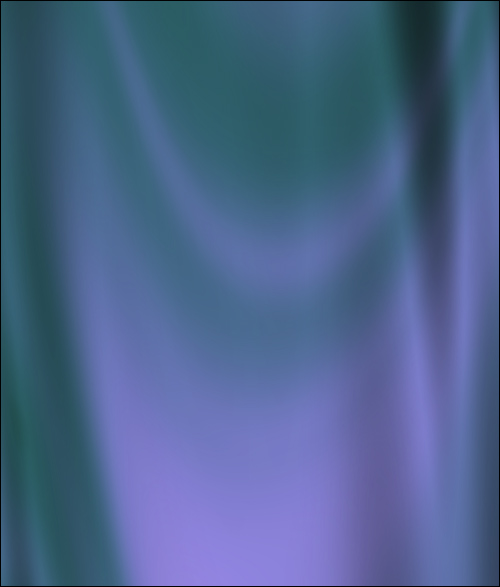
The first thing we'll work on is the backdrop. Create a new layer above the original photo (select Layer > New > Layer... or click on the Create a new layer icon at the bottom of the Layers palette). Rename this layer Backdrop and change the Blending Mode to Multiply. You could try colourizing the existing background, but in this photo it's a little featureless so I decided to create my own backdrop. You can either make this from scratch in Photoshop or use an existing image. I made this with a plugin called Backdrop Designer by Digital Anarchy:
Step 3:
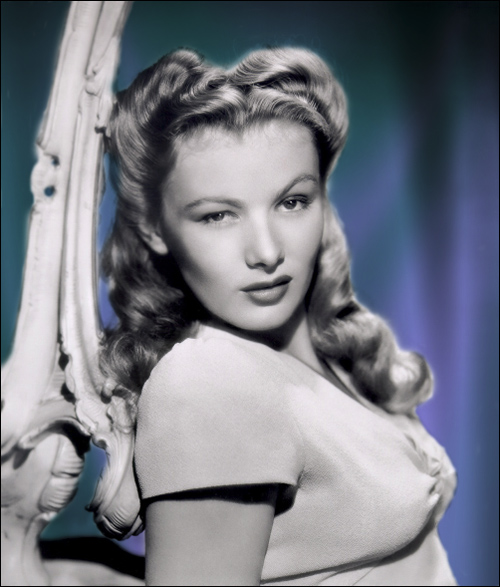
With the Backdrop layer active, select Layer > Layer Mask > Hide All. This will add a layer mask, pre-filled with black, to the Backdrop layer. Now select white as your foreground colour and choose a soft-edged brush. Click on the layer mask in the Backdrop layer, then select the Brush tool and start painting white over the areas where you want the backdrop to show through. Change the size and/or hardness of the brush as necessary. You'll eventually end up with something like this:
Step 4:
Now to colourize the skin areas. Fleshtones are notoriously difficult to reproduce accurately when colourizing black & white images, mainly because of the subtle gradations of colour and tone that occur naturally in skin. So we'll "cheat" by using someone else's skin! Open up an image with a large area of skin - I used an extra large image of some bikini babe that I found searching Google Images. Use your favourite selection tool (I used the Pen tool) to select an area of skin with various areas of tone and shading:
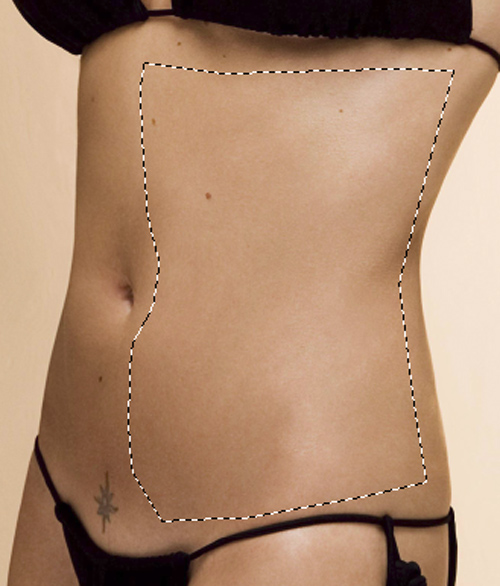
Select the Move tool, then click and drag the selected area into your working image as a new layer. Make sure this layer is at the top of the layer stack. Rename this layer Skin and change the Blending Mode to Color. Select Layer > Layer Mask > Hide All. Make sure that the imported skin section covers all the areas of skin in your original photo. If it's a bit too small, select Edit > Transform > Scale and enlarge it to the right size. It doesn't matter if you lose some definition in the skin section, since we're only going to be using the colour information, not the texture.
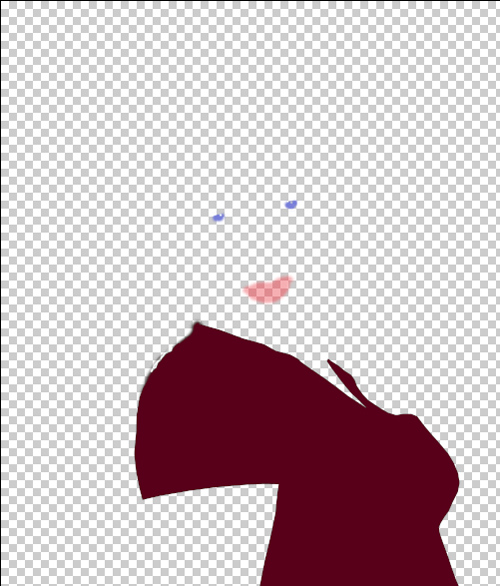
As before, click on the layer mask in the Skin layer and start painting white over the areas where you want the skin to show through. Eventually, you should get something like this:
Note that I've left the eyes and lips - these are going to be coloured later.
Step 5:
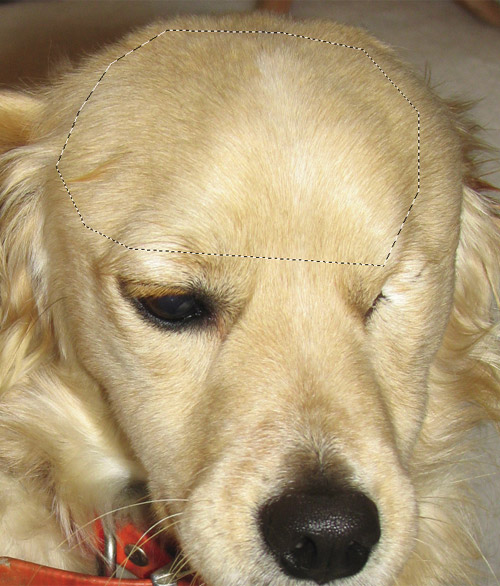
Now we're going to use the same process to provide some realistic-looking blonde hair. Hair, like skin, needs to be colourized with subtle changes in tone and colour. Of course, there's no rule that says you have to use human hair, so I chose this image and selected an area as in Step 4:
As before, select the Move tool, then click and drag the selected area into your working image as a new layer. Make sure this layer is at the top of the layer stack. Rename this layer Hair and change the Blending Mode to Color. Select Layer > Layer Mask > Hide All. Again, resize the section if necessary to make sure all the hair area in the original photo is covered.
As before, click on the layer mask in the Hair layer and start painting white over the areas where you want the hair colour to show through. Your image should now be looking something like this:
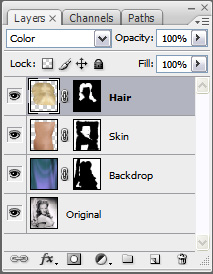
At this point, your Layers palette should look like this:
OK, that's the hardest part done.
Step 6:
Select
Layer > New > Layer... or click on the Create a new layer icon at the bottom of the Layers palette. Make sure this layer is at the top of the layer stack. Rename this layer Lips and change the Blending Mode to Color. Select a red foreground colour to paint the lips. Ensure that the Lips layer is active, then select the Brush tool and start painting with a soft-edged brush to colourize the lips. You may find it better to zoom in to 200% or 300% to ensure you paint precisely over the target area. If you accidentally paint "outside the lines", you can tidy up with the Eraser tool. The red colour I chose was a little too strong, so after I'd finished painting I lowered the Opacity of the Lips layer to 55%.
Step 7:
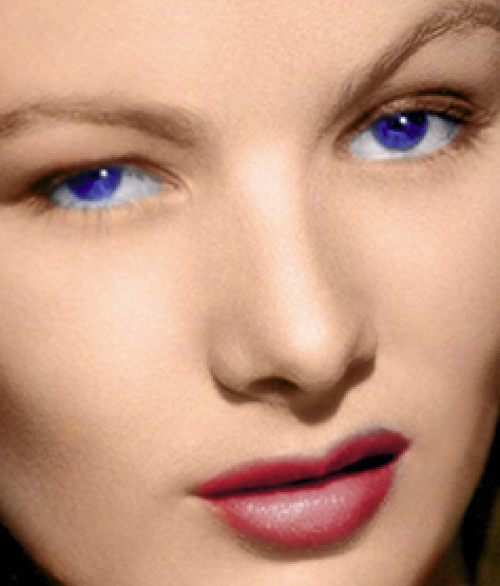
Select Layer > New > Layer... or click on the Create a new layer icon at the bottom of the Layers palette. Make sure this layer is at the top of the layer stack. Rename this layer Eyes and change the Blending Mode to Color. Select a blue foreground colour to paint the eyes. Ensure that the Eyes layer is active, then select the Brush tool and start painting with a soft-edged brush (as in Step 6) to colourize the eyes. Make sure that you don't paint over the highlight glints or the whites of the eyes - these need to remain white. Eventually the zoomed-in portion of your image should look like this:
Step 8:
Select Layer > New > Layer... or click on the Create a new layer icon at the bottom of the Layers palette. Make sure this layer is at the top of the layer stack. Rename this layer Dress and change the Blending Mode to Color. Select a foreground colour to paint the dress. What colour you choose is entirely up to you - I chose a dark red (#5d050f to be exact) so that the Color blending mode would render it as a delicate pink: in Color blending mode, lighter tones in the base image produce lighter versions of the colour you apply. Once again, ensure that the Dress layer is active and then paint over the dress area as described above. If you have a large area to paint over, you may prefer to make a selection of the area and then fill it in one go by selecting Edit > Fill... and choosing Foreground Color in the Contents section of the dialog box. If you hide the original image and the Backdrop, Skin, and Hair layers, your image should now look something like this:
Make all layers visible again and your layers palette should look something like this:

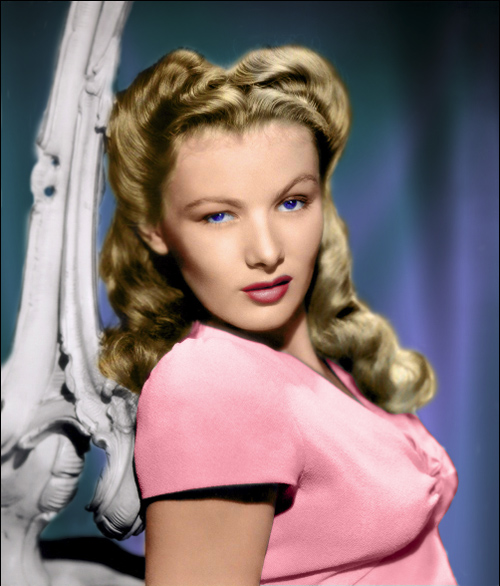
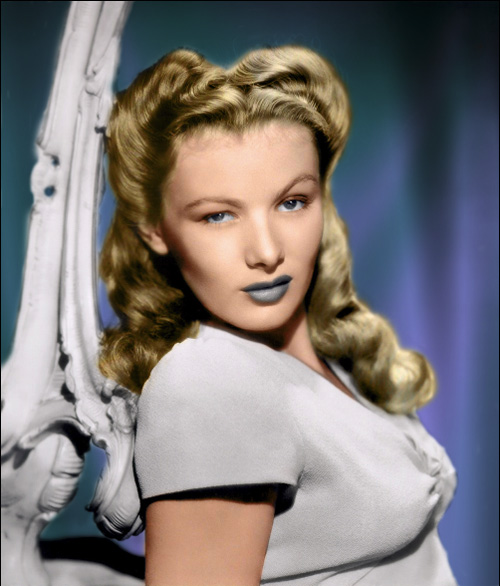
And here's what the final image looks like (roll the mouse over to see the Before and After effect):